What this section is for #
The White Label section allows the Tenant Admin to view and, when permitted by the Provider, customize the brand displayed to tenant users after login.
White Label enables you to adapt the tenant’s visual experience, displaying a name and logo consistent with the company identity.
When White Label can be modified #
White Label customization is available only if the Provider has enabled this option for the tenant.
If the Provider allows customization, the Tenant Admin can update:
- tenant brand name;
- tenant logo;
- image displayed in the interface after login.
If the Provider has not enabled White Label for the tenant, the page may be available in view-only mode or display the brand inherited from the Provider or platform.
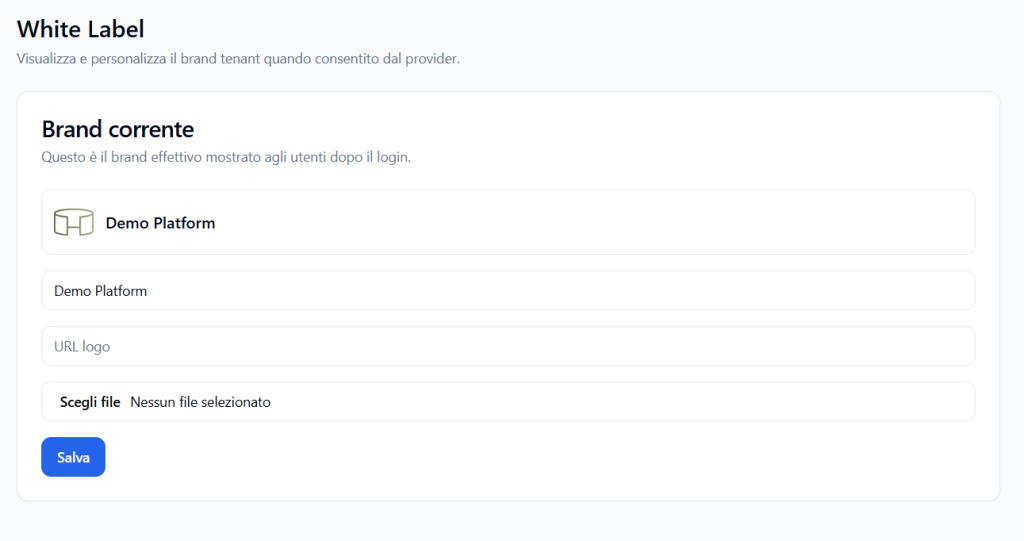
Current brand #
The Current brand section shows the actual brand displayed to tenant users after login.
This is the brand currently applied to the user experience.
It may include:
- logo displayed in the interface;
- brand name;
- logo image URL;
- any file uploaded by the Tenant Admin.
Current logo #
At the top of the tab, a preview of the logo currently associated with the tenant is displayed.
This logo is what users will see in the interface, if White Label configuration is active and permitted.
Brand name #
The brand name field allows you to specify the name to be displayed to users.
Example:
Demo Platform
This name may represent the company name, tenant name, or training environment.
Logo URL #
The URL field shows the reference to the currently saved logo image.
In most cases, this value is automatically generated or updated after uploading a file.
It is recommended not to manually modify this field, unless specific technical instructions are provided.
Logo file upload #
The Choose file button allows you to select an image from your computer.
After selecting the file, the logo can be uploaded and associated with the tenant.
Before uploading a logo, it is recommended to use an image that is:
- clear and readable;
- consistent with company identity;
- not too large in file size;
- suitable for display in headers or main platform areas.
Saving changes #
After updating the brand name or uploading a new logo, click Save.
The system updates the tenant’s White Label configuration.
Once saved, the change will be visible to tenant users after login.
What users see #
When White Label is configured correctly, tenant users see the customized brand in the platform interface.
This may include:
- tenant logo;
- tenant or company name;
- header consistent with the configured brand.
Customization serves to make the experience more recognizable and connected to the organization’s identity.
Difference between Provider White Label and Tenant White Label #
The Provider can define general White Label rules for the tenants it manages.
The Tenant Admin, on the other hand, can customize their own brand only if the Provider has granted this option.
In summary:
- the Provider decides whether the tenant can customize the brand;
- the Tenant Admin configures the name and logo of their tenant;
- the tenant users see the actual brand after login.
Best practices #
To configure White Label correctly, it is recommended to:
- verify that customization is enabled by the Provider;
- use a clear and recognizable brand name;
- upload a logo that is readable even in reduced sizes;
- avoid blurry images or images with too much text;
- always save changes after uploading;
- check the interface after login to verify the final result.
Final result #
The White Label section allows the Tenant Admin to manage the brand visible to tenant users, when this feature has been authorized by the Provider.
The configured brand becomes the visual reference for the user experience after login, helping to make the platform more consistent with the organization’s identity.


